
Welcome to our first team blog post. To kick off the team blog we are starting with a feature by Ariella from North Carolina who is going to be teaching us how to make fabric flowers with her step by step tutorial. The Interactive Blogging Team is open to anyone who is a member of Etsy; buyers, sellers and browsers but the majority of members are sellers as blogging is a great way to connect with customers and give them an insight into your world and your craft.
Ariella is a law student by day but an avid crafter by night and runs her own Etsy shop called Haus of Ariella which sells a variety of geeky, music and wedding items.

Here is her wonderful tutorial:
How to make a fabric flower (great for putting on bags, hair clips etc)
 |
| One of the ways in which the fabric flower can be used |
Materials:
-Fabric - light to medium weight fabrics work best; I used satin for this tutorial
-Needle and matching thread
-Large button for the center
-Hot glue gun
-Scissors
-Paper for the template
Step 1:
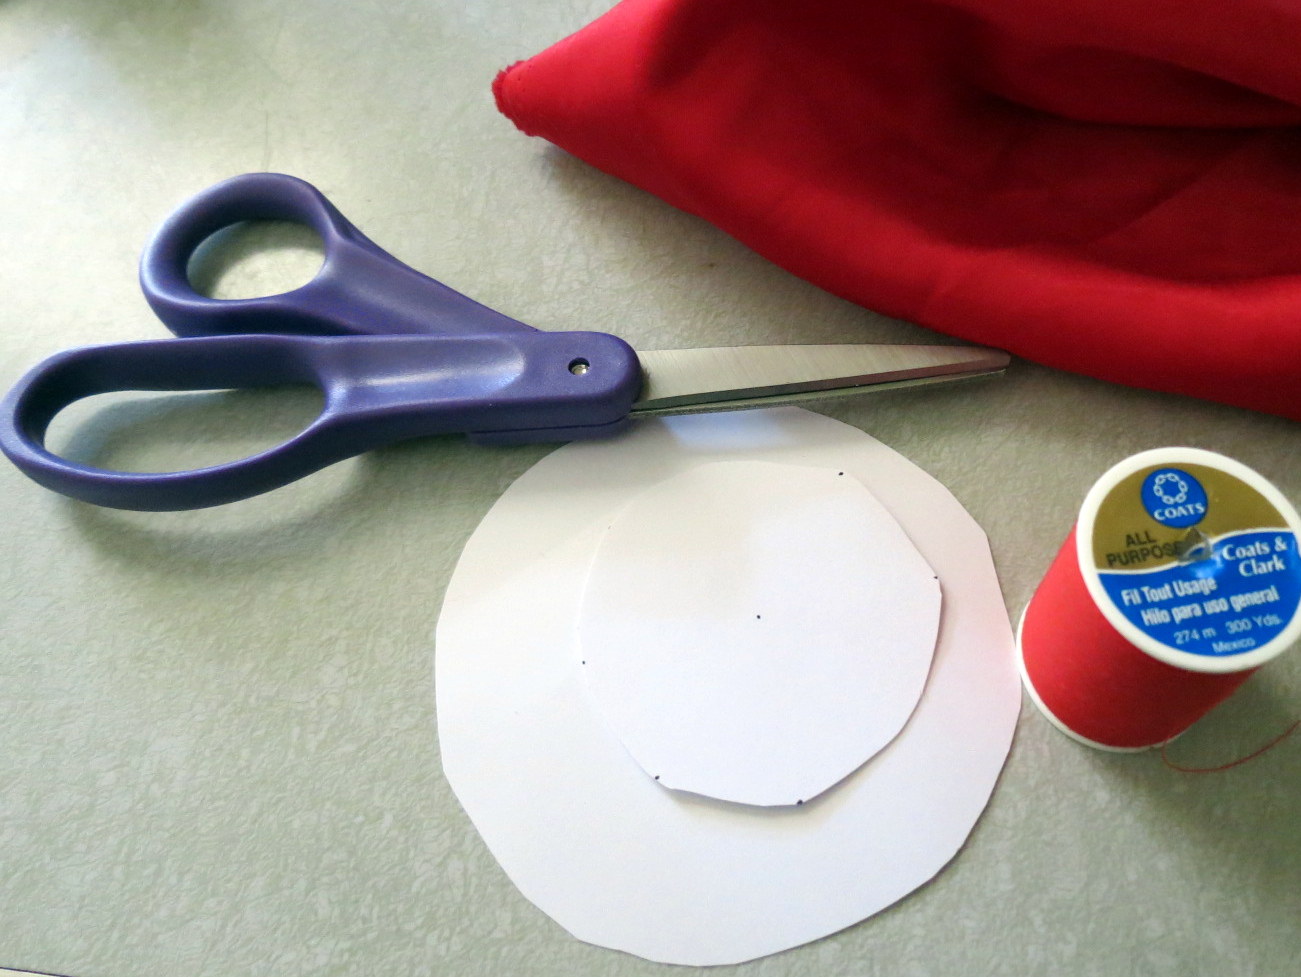 |
| Step 1 |
Step 2:
 |
| Step 2 |
 |
| Step 2 |
Fold one of your templates in half over your fabric and cut around the template so that you end up with a circle of fabric. Cut 5 of the large circles and 4 of the small ones.
Step 3:
 |
| Step 3 |
 |
| Step 3 |
Step 4:
 |
| Step 4 |
Take your 5 large petals and sew them together in a circle with the petals slightly overlapping. Do the same thing for the small petals.
 | ||
| After completing step 4 your flower should look like this |
 |
| Step 5 |
Step 6:
 |
| Step 6- The final finished piece! |
Take your button (which should be large enough to cover the hole in the middle of the petals) and put hot glue on the edges, then place it in the middle of the flower.
Congratulations! You now have a cool fabric flower to put on purses, hair clips, or whatever else your heart desires!
Thanks for posting it! I hope everyone enjoys it!
ReplyDeleteVery interesting and easy to follow. Thanks for sharing!
ReplyDeleteLovely!
ReplyDeleteVery pretty. I love the red. :)
ReplyDeleteGreat tutorial. I can see uses for this flower everywhere! Thanks for sharing.
ReplyDeleteThanks so much for being the first member to have a blog post on our new team blog :) . Really enjoyed this tutorial
ReplyDeleteThe Dorothy Days
Pretty flowers n great tutorials. I have been making fabric flowers for a while now and this is something that I would love to include in my collection. http://littlegorgeousgirl.blogspot.com/2012/07/i-fall-in-like-for-kanzashi.html
ReplyDelete